Hi again, I've got a scrapbook layout to share this time with a few tips for using hand stitching as a design element on your projects and have combined pattered papers from the new Simple Stories Faith and Simple Stories Domestic Bliss collections for a fun a colourful layout featuring me with my little guy.
I absolutely love the paint stroke design of the
'Shine' paper and wanted the majority of the design to remain visible on the finished page so I decided to keep my page design simple with a few paper layers built up beneath my photos and a scatter of stitched hearts that added interest to my page but still allowed the background paper to show through.
Hand stitching is a great way to add detail to your projects and I have found that the key to getting good results is even spacing as well as even tension with each stitch. When stitching straight lines, I always use a ruler and pierce the paper at even intervals, however when stitching curved shapes the spacing is a little different - smaller intervals around each curve work best as they help to produce a nice flow and reduce harsh angles.
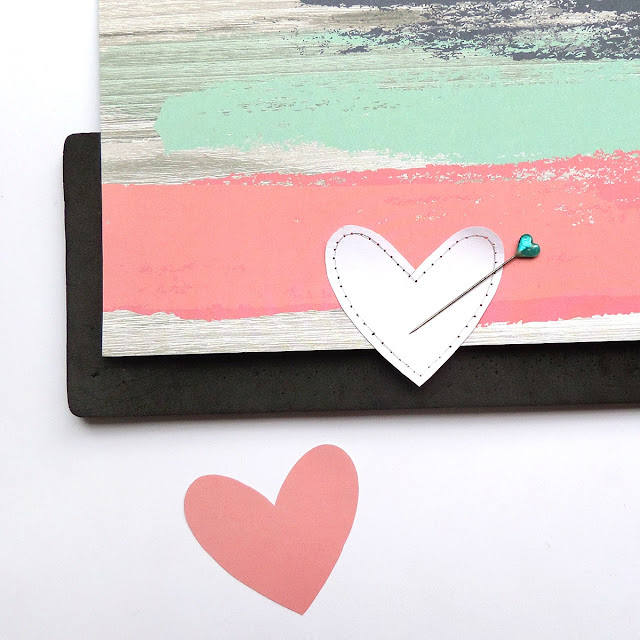
I often use a template for shapes as it allows me to move it around the page and see exactly where the stitching will be placed. You can use a variety of different methods to create a template, such as a printed design, die-cut shape or a simple hand drawn shape as I have done here.
Place your paper and template onto either a piercing matt or old mouse pad and use a piercing tool or a simple headed pin to pierce the design all the way through the paper. You may want to use washi tape to hold you template in place to prevent it from moving.
I went with a satin embroidery floss for this page in a complementary colour and used a simple back stitch to create the hearts. Satin floss can be a little temperamental at times but by ensuring that each stitch was created with even tension I was able to produce even results.
I have used a single strand of floss that I doubled over once it was threaded through my needle. You may want to create a knot on the end of your thread prior to pulling it through the page, but I prefer to leave the end loose and then tie it to my working thread after I have created a couple of stitches as it helps to keep the tension tight. Flipping the paper over to the back to see where the next pierced mark will be is helpful for when you are starting out and even though this may slow things down a little this method helps to keep the tread tension tight and keeps the stitches nice and even - just be sure you don't pull too tight or the paper will tear ;)
Products from the Sassy store...
Simple Stories Faith 12x12 Cardstock - Love
Simple Stories Faith 12x12 Cardstock - Shine
Simple Stories Domestic Bliss 12x12 Cardstock - Domestic Diva
Simple Stories Domestic Bliss - I Can't Adult
Simple Stories Domestic Bliss - Mom Rules
Simple Stories Domestic Bliss Sticker Pack
Simple Stories Domestic Bliss Enamel Dots
Heidi Swapp Magnolia Jane Acetate Words
Heidi Swapp Memory Planner Date Stamp
Elle's Studio White Alpha & Number Stickers


 Thanks for stopping by xx


No comments:
Post a Comment